Page 2 of 6 ... May 1998 - August 1999
May 1998 -- Some New Paint on the Roof
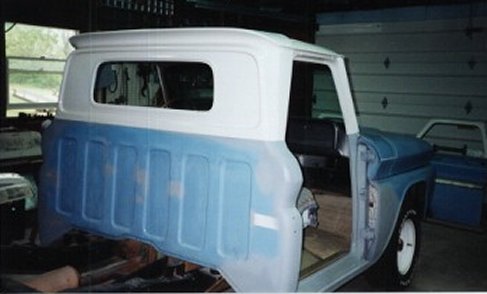
I scraped all of the old hardened seam sealer out of the rain gutter area and replaced it with new seam sealer. I also sanded down the top of the cab and filled in a few small dents with some body filler before priming and spraying on a couple coats of white paint. I used DuPont Centari acrylic enamel with a gloss hardener.
June 1998 -- More New Paint
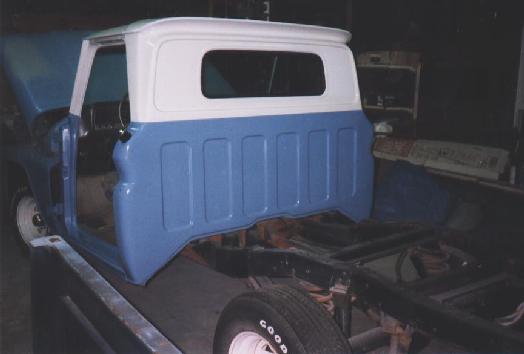
Back of the cab after I painted the blue portion. I also painted the door jams and rocker panels.
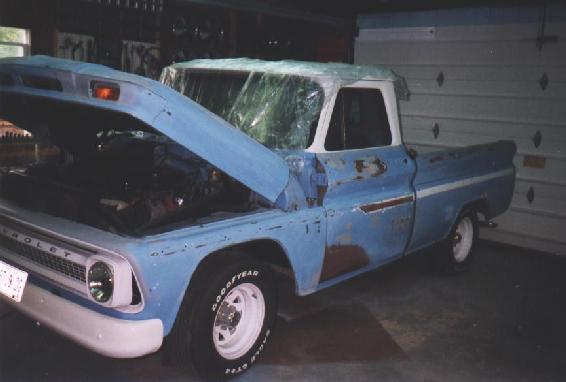
We re-installed the doors and bed. The blue portion from the cab forward was almost ready to prime and paint at this point. However, the bed still had quite a bit of dent repair work to be done before that would be ready for paint.
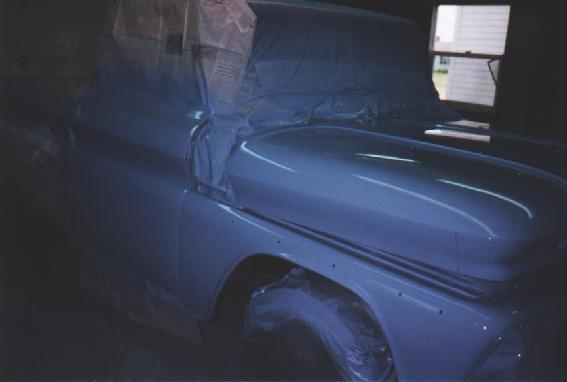
This photo was taken just after I painted the cab of the truck. I used DuPont Centari acrylic enamel in the factory light blue color mixed with some gloss hardener.
We put the grille and bumper back on and Dad drove the truck for the rest of the summer/fall. It was stored for the winter and we started working on it again in the spring.
Summer 1999 -- New Wood Bed Floor
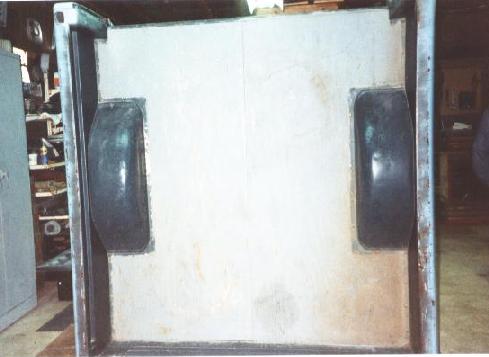
We removed the bed again to install the new floor. It is shown here standing on its end on the garage floor. Someone had previously replaced the original floor with a couple sheets of ¾" plywood with a seam down the middle. The metal parts inside the bed has been painted green (my uncle did that) and the inner fender wells were full of dents.
July 1999:
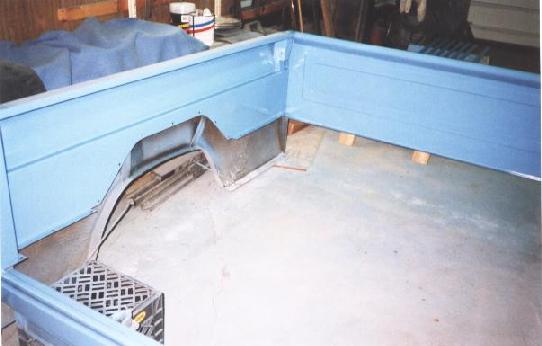
Here is the inside of the bed with the old floor removed and the inside painted back to the original blue.
August 1999:
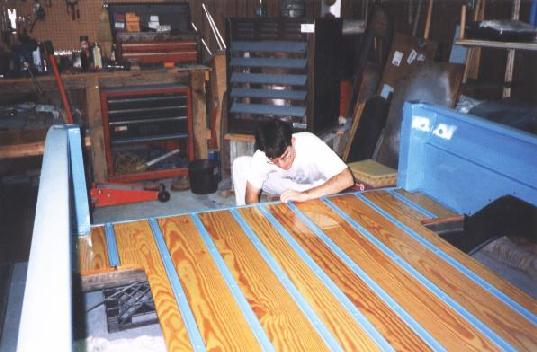
Here I am finishing up the installation of the new floor. It's a yellow pine wood kit from Chevy Duty (now Classic Parts of America). These were originally painted black from the factory but we chose to clear coat the boards with Minwax Helmsman Spar Urethane to better show the natural woodgrain. I painted the new steel bed strips and bolts blue to match the rest of the truck.
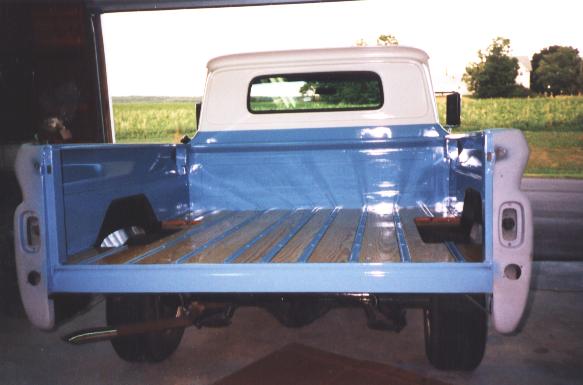
The bed is back on the truck. The outside is still in primer at this point since it still needs a little bit more work before it will be ready for paint.
- Continue on to Page 3 (August 1999 - March 2001 ... More Paint and After Photos)
- Skip to Page 4 (August 2004 - March 2017 ... Preparing for Engine & Transmission Swap)
- Skip to Page 5 (March 2017 - August 2017 ... 327 V8 and 3-Speed Overdrive Swap)
- Skip to Page 6 (September 2017 - present ... A Few More Updates)
- Return to Dad's 66 C10 Truck Page
- Return to Ray's Chevy Restoration Site Home Page
- © 1998 - 2023 Raymond McAvoy. All Rights Reserved.