Page 3 of 6 ... August 1999 - March 2001
August 1999 -- A Better Rear Bumper
The old bumper that had been on the 66 was an aftermarket step and tow style with ends that wrapped around and bolted to the bedsides. I think someone might have adapted it off another truck since it had some crude looking torch cuts and welds in a few areas. And it fit too tight up against the bedsides, causing a small crease in the sheetmetal and rubbing off the paint.
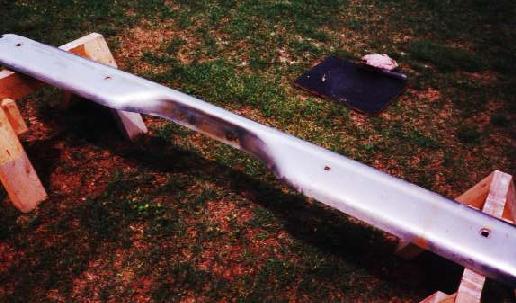
We pulled this good used original rear bumper off a '65 parts truck. The chrome finish was scratched and worn off in several places. So I sandblasted it, etch primed it, and painted it white to match the front bumper.
September 1999 -- Painting the Bed
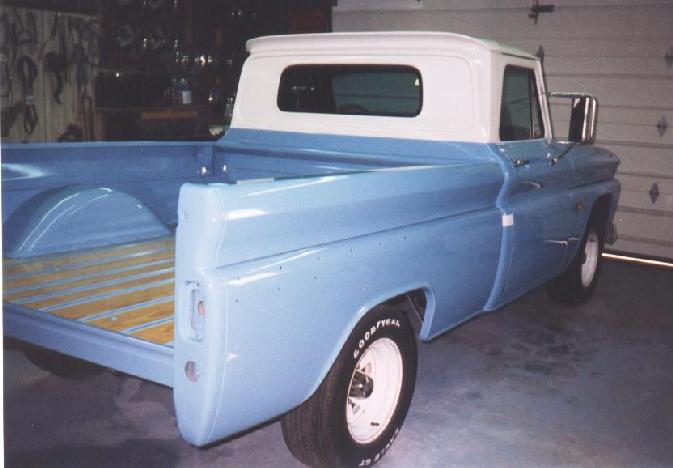
Here is the outside of the bed painted. The white stripe that goes between the side trim hasn't been painted yet (except for on the cab where it had to be done before installing the bed).
November 1999 -- Almost Finished
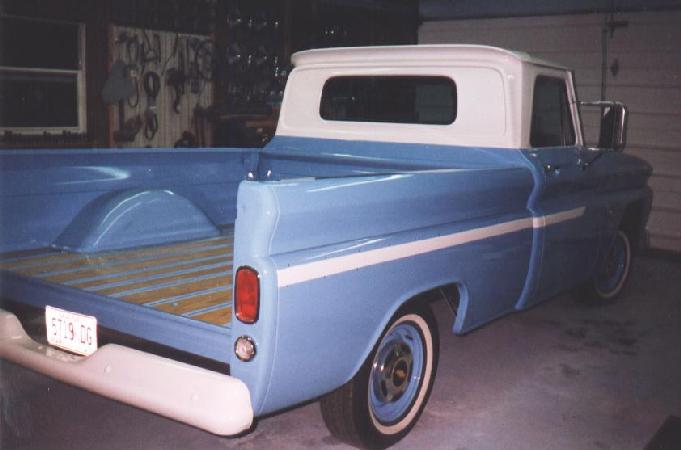
Here's the truck with the re-painted rear bumper and original wheels re-installed. The newer style hub caps were used temporarily until the original ones were ready. Only the tailgate and side trim are needed to finish the body work.
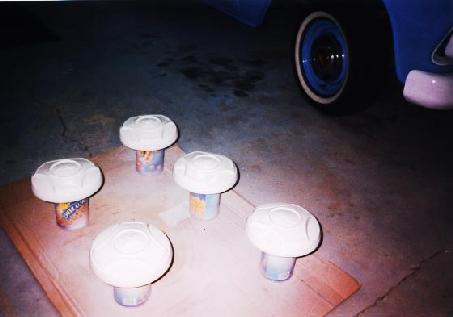
The freshly painted original hub caps. They only need the red centers painted before they go on the truck.
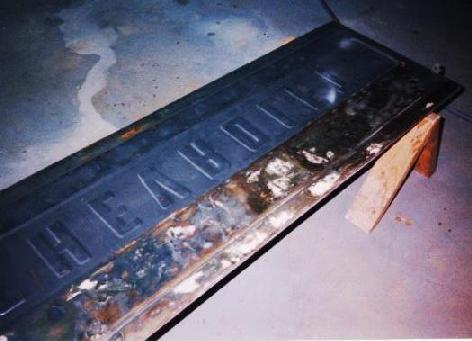
Here is the tailgate. It doesn't look that bad in the photo, but the inside has numerous dents. We are still searching for a better one, but in the meantime, I've filled the dents on this one with fiberglass reinforced filler and finished it off with regular body filler.
May 2000 - Factory Tachometer and Gauge Cluster
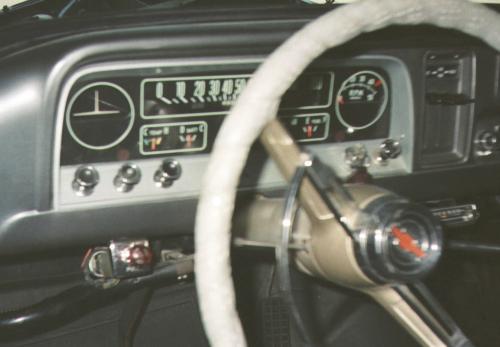
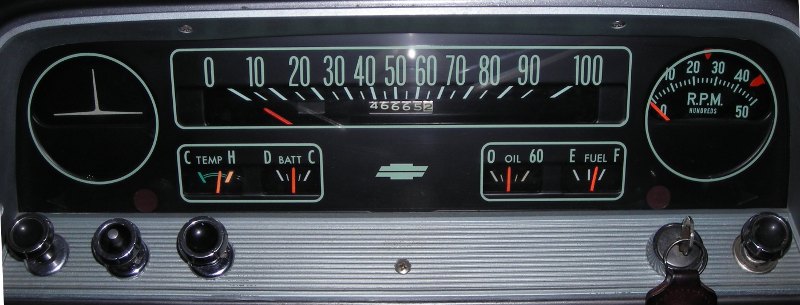
Dad bought a factory tach cluster from a local farmer that had some junked trucks out behind his barn. We also had a couple of non-tach gauge clusters in some parts trucks. I took them all apart and picked out the best pieces to build one good cluster.
Since the '66 originally had a warning light cluster, I had to make some changes to swap in the tach/gauge cluster. Details are described in my 64 - 66 Truck Gauge Cluster Swap Guide.
The old photo above is a bit far away and blurry. This more recent photo gives a better view.
July 2000 -- Restoration is Finished
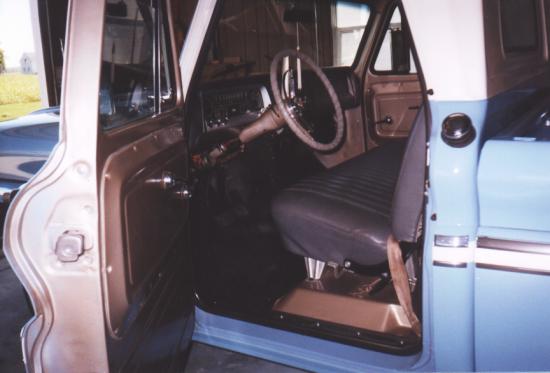
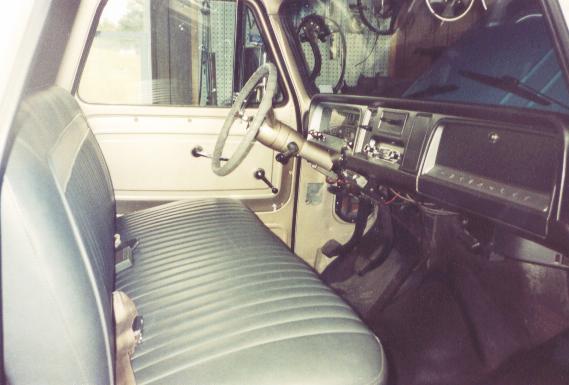
The finished interior. These photos were taken with an old film so the color is a bit off.
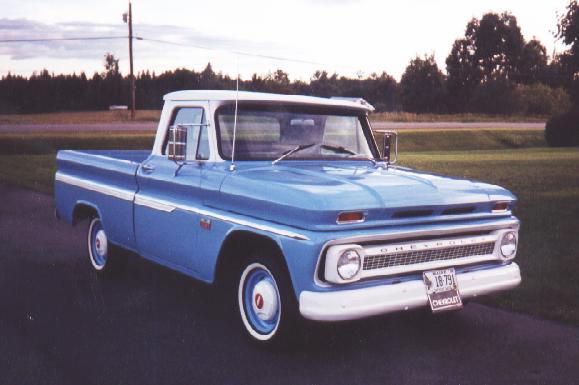
All of the body work and interior is finished.
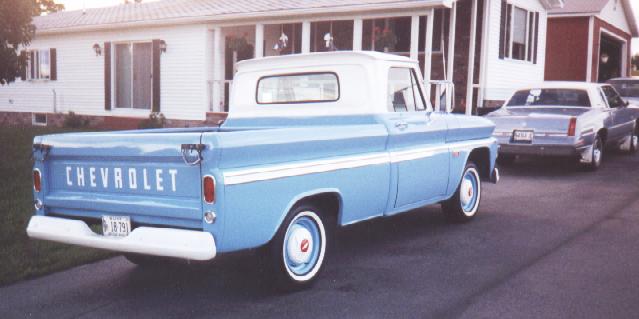
Another shot of the outside showing the recently painted tailgate. Most of the dents were on the inside of the tailgate so it turned out fairly well.
March 2001 -- Power Steering Upgrade
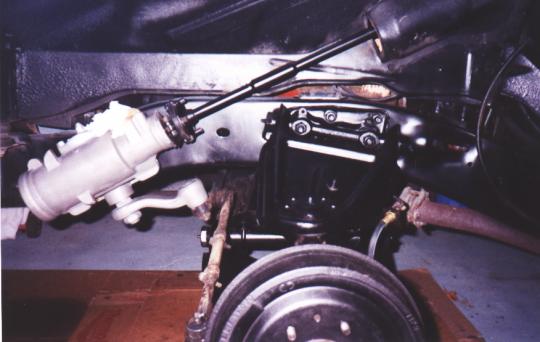
We added a power steering conversion kit. We also rebuilt and detailed most of the front suspension during the process.
- Skip to Page 4 (August 2004 - March 2017 ... Preparing for Engine & Transmission Swap)
- Continue on to Page 5 (March 2017 - August 2017 ... 327 V8 and 3-Speed Overdrive Swap)
- Skip to Page 6 (September 2017 - present ... A Few More Updates)
- Return to Dad's 66 C10 Truck Page
- Return to Ray's Chevy Restoration Site Home Page
- © 1998 - 2023 Raymond McAvoy. All Rights Reserved.