Page 2 of 6 ... July 2003 - May 2004
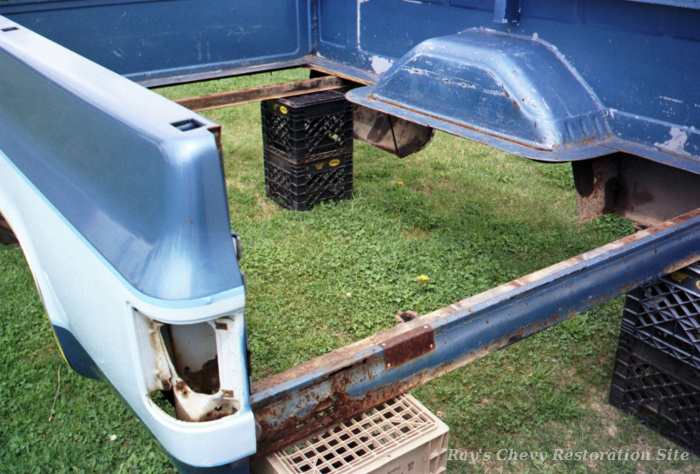
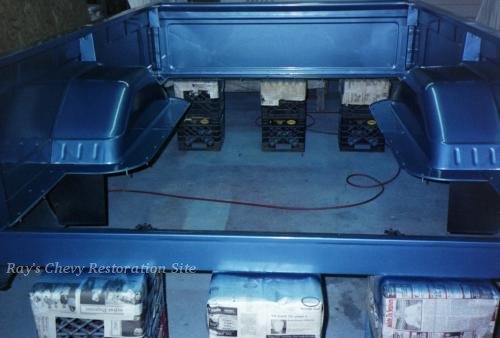
The photo above shows the bed with the old wood removed.
According to my research, the RPO E81 wood floor was a rather rare option in '73 - '80 fleetside beds. Although the stepside beds continued to use wood floors as standard equipment all the way to '87, a ribbed steel floor was standard in the fleetside beds.
The '73 - '80 fleetside wood floor option shares several parts in common with the regular steel floor:
However, there are many metal pieces (in addition to the wood boards) that are unique to the this option:
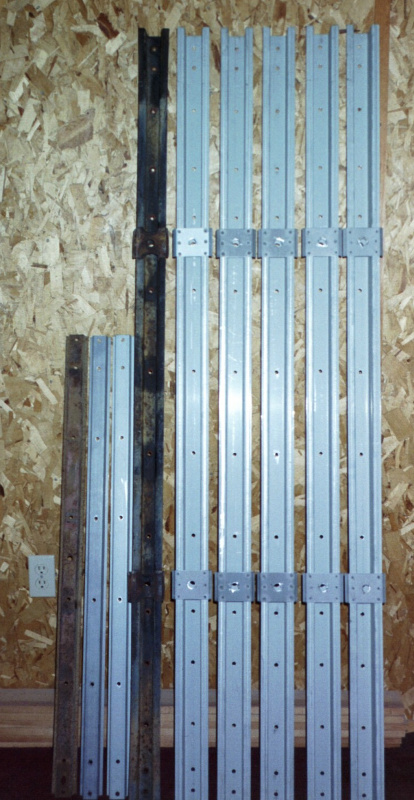
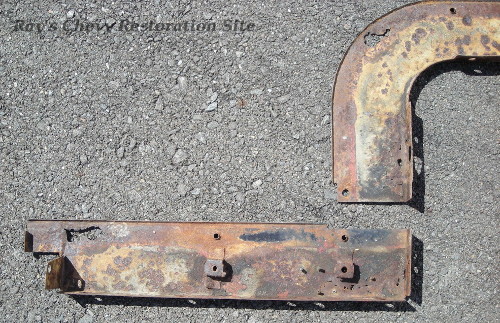
Mar-K offers wood kits for these '73 - '80 fleetside beds along with the metal strips that go between the boards. And after exchanging a few emails with their helpful tech department, we were able to determine that their '67 - '72 GM cross sills are the same height and could be used as suitable replacements under the '73 - '80 wood floor. The same goes for the smaller cross braces that span the floor between the wheel well openings. The board widths (and therefore hole spacing in the cross sills & braces) is different between the two year ranges so Mar-K allowed me to order these parts without any of the usual pre-drilled holes in them. Then I simply used the old rusty pieces as templates to drill the holes in the new pieces. Shown to the right is one old cross sill, one old brace, and all of the new ones. The 8 foot bed uses 5 of these cross sills (3 up ahead of the wheels and 2 behind) along with 2 of the cross braces between the wheel wells.
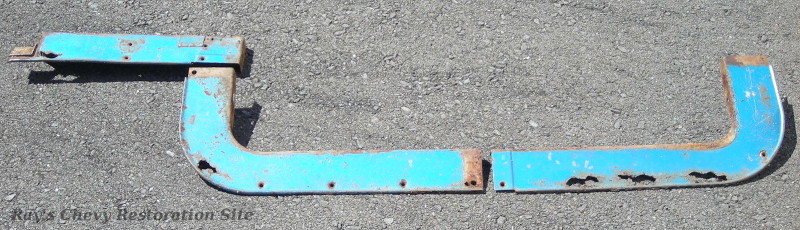
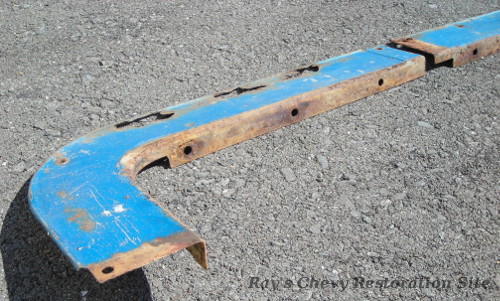
Although Mar-K was able to provide many of the needed parts to restore the wood floor, we still needed to find replacements for the rusty perimeter flange pieces and rear cross sill. Those parts are not being reproduced by anyone. But after a bit of asking around, we learned about George Sprowl's Antique Express Inc. in Searsmont Maine through a mutual friend who also does automotive restoration work. Our friend took the old rusty flange pieces & rear cross sill down to George and he was able to use them as templates to fabricate some excellent replacement pieces. He didn't have a way of exactly duplicating the two front/side flanges that have the gas filler neck clearance humps stamped into them. But those were still fairly solid so I was able to repair them by cutting out the rusty sections and welding in new metal. Some of the old rusty pieces that were used as templates are shown below.

As I mentioned back on page 1, Dad resorted to using an aftermarket LH bedside back in 1989 since the GM one with the round gas filler hole had been discontinued. That aftermarket bedside wasn't long rusting out above the wheelwell and needing to be patched. In comparison, the GM bedside that he put on the RH side only had a tiny bit of surface rust from rock chips on the lower/rear portion.
So this time around, Dad purchased a new GM bedside for the LH side with the '79 - '87 style square filler hole. I cut a section with the '73 - '78 style round hole from a junkyard bedside and prepared to weld it into the new bedside.
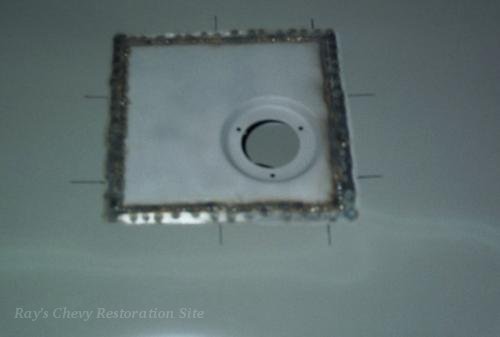
Here is the round hole panel after being sandblasted and welded in place.
Looking back on this, I've learned that it would have been better to have used rounded corners on the patch panel since that reduces the length of the weld seam as well as some of the panel distortion that results from the tack welds shrinking as they cool. As it was, I had to do a fair amount of hammer/dolly work on the weld joint to relieve the stress and allow the rest of the panel to return to it's original shape.
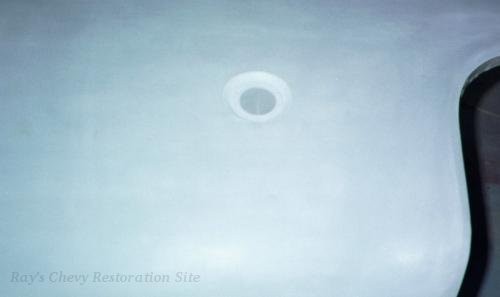
And here it is with a skim coat of body filler and some primer surfacer to smooth over the weld seam.
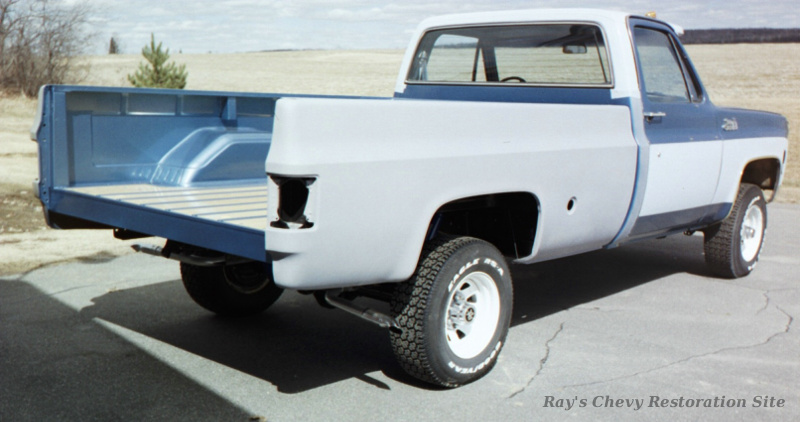
We re-assembled the bed and primed the inside. The LH bedside is the new GM one that I modified with the round filler hole as shown above. The RH bedside is the GM one that dad put on the truck back in 1989. Both inner wheel tubs are new GM parts. The perimeter flanges and rear cross sill are the pieces made by George Sprowl at Antique Express Inc. And the wood is southern yellow pine from Mar-K with pre-drilled mounting holes.
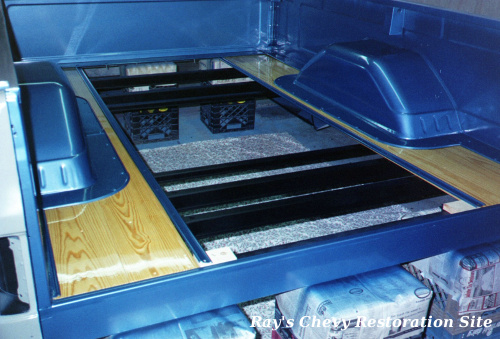
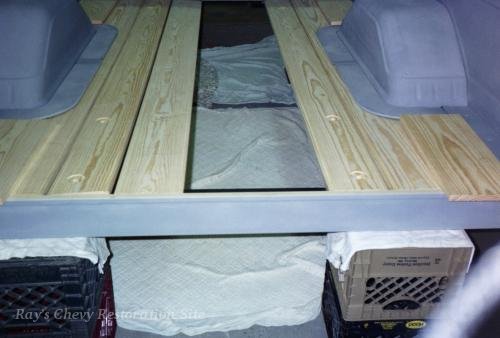
Here is the inside of the bed with a fresh coat of paint. And some of the cross sills & wood in place.
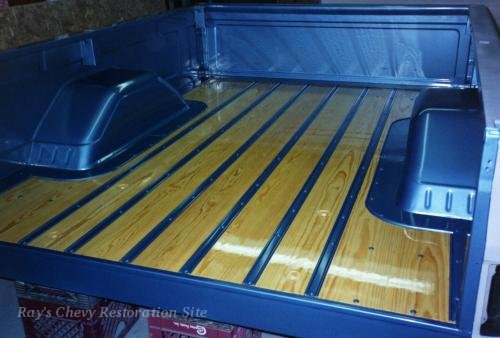
And here is the finished bed with the new wood installed. These were originally painted body color from the factory but we chose to coat the wood with Helmsman Spar Urethane to keep the natural wood look.
Here is the bed back on the truck. Back when the bed was still apart, I had sanded the RH bedside back down to the factory primer and re-sprayed it with a couple coats of 2K urethane primer.