|
|
| 350 Top End Engine Upgrades - Page 2 |

|
|
| 350 Top End Engine Upgrades - Page 2 |
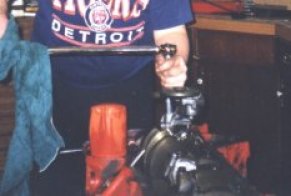
Torquing down the NEW Oil Pump
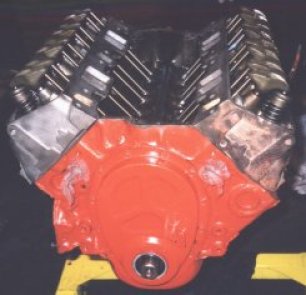
Reinstalling the heads, as well as the lifters and push rods, adjusted the valves.
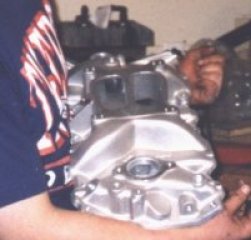
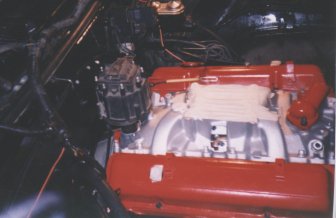
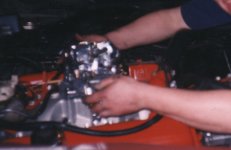
NEW Edelbrock Intake #2101, which was also recommended for my desired setup.
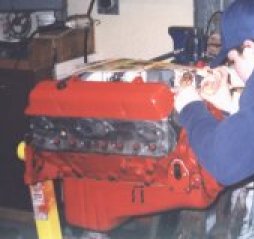
We're taping up the motor once again, so I can give it a few more coats of paint and also repaint the rebuilt heads.
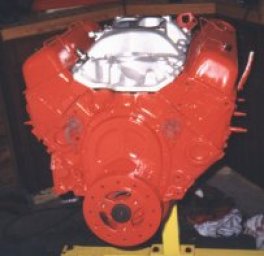
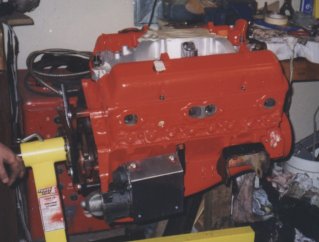
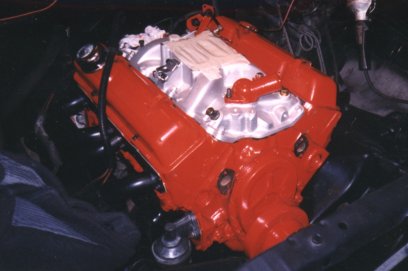
Boy, the motor is looking GOOD!!!... everything is nicely painted & clean !!
Putting on another coat inside the engine compartment. Good ol'Termclad Gloss Black.
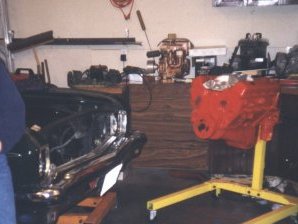
Alright, motor is almost ready to put back into the car, just letting the paint dry over night.
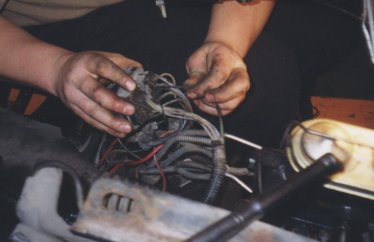
Modifing the wiring harness alittle. Had to splice my resistance wire and replacing it with a non-resistant wire for the HEI conversation.
Thanx to Alex Balin for his 'HEI Conversation' Page on his site, and to Roger Norman for pointing this out to me after chatting with him on ICQ.
Almost Ready to go!!
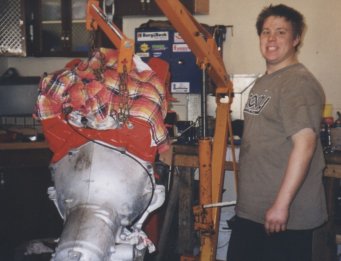
Motor and Tranny bolted up and attached to jack and ready to put into the car.
Note: No dipstick tube on the tranny, that's right, I broke it when trying to put it into the new tranny, turned out I was using a new styled gasket and well, a little too much force :)
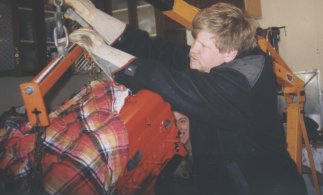
Glenn's adjusting the angle of the engine as we try to lower the motor back in.
Glenn is helping me install the left heddar, we have to bolt in the motor mount on the passenger side, and lifted the motor up alittle to give us some room. This was suggested to me by the guys on the NovaList Serv.
Here's the motor, with the HEI installed.
We spent some time pounding in the firewall to get the HEI Unit to fit. It is a TIGHT fit, infact, I have a piece of rubber inner tube cut and placed along the back to prevent any arcing.
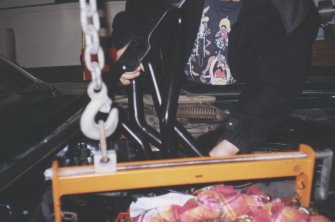
Motor & Transmission are lowered and bolted up. It's time to add the accessories

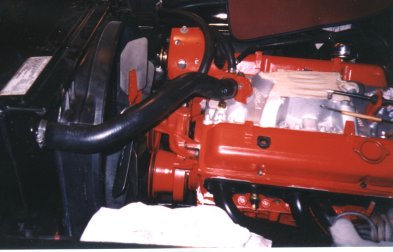
Hooking up the cooling system here, water pump, rad, fan & shroud.
Here we've added the HEI and notice the lack of fan shroud here. I accidently smashed into it when pounding back the firewall a little bit more. The 2x4 split and CRASH, the hammer went right into the fan shroud. OH!!, My perfect fan shroud.... DAMN DAMN!!! I was VERY upset after this.
Truth be known, I kinda flipped out over that!
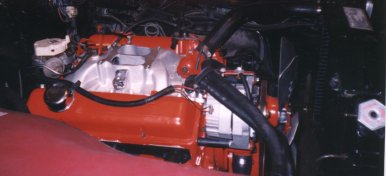
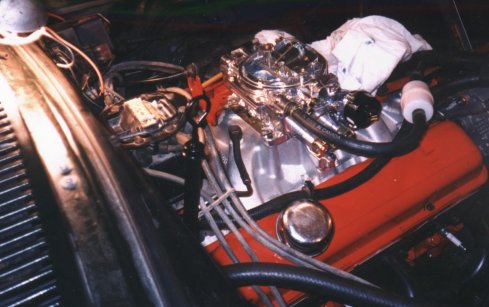
Installing the new carb, an Edelbrock #1406, 600cfm with Electric Choke (SWEET!)
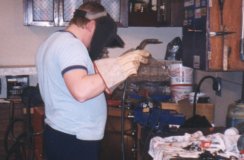
Here Glenn is welding up a modification we had to make to the cable bracket for the accellrator and tranny kickdown.
We had to modify the stock bracket because the arm piece which bolts across along the back of the carb was hitting the vacuum kickdown nuzzle.
Given the final inspection behind we start her up and pray/see if she comes to life!!....
|
|
|
 Back to 350 Top End Engine Upgrades Back to 350 Top End Engine Upgrades |
|---|
| Back to Photo Gallery - 2000 |
|---|

