|
|
|
Holley Sniper EFI Install
- Page 2 - |

|
|
|


|
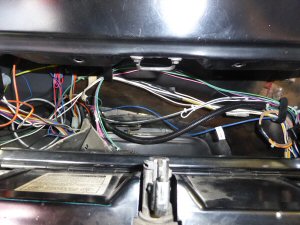
After laying out the main harness, start to tie-wrap wires together as to how I want to run them.
VERY IMPORTANT to connect the main power leads DIRECTLY to the battery as it states in the instructions. I popped the big rubber piece out of the firewall for the heater motor and use that hole to feed my wiring inside the car. I wired up the 'Output Harness' as well as the Coil Driver Module from the inside behind the glove box area. 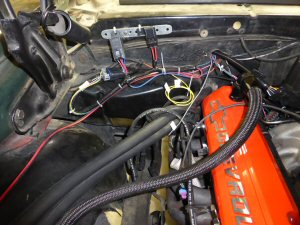 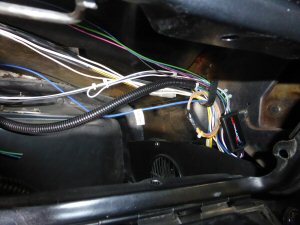 |
|
DO NOT BE DISCOURAGED about the wiring of the Holley Sniper EFI system. The manual provides EXCELLENT diagrams/pictures which are all nicely laid out and color coded.
I've taken a few screen shots from the 'Installation Manual' to show examples. There is also step-by-step instructions on how to do. Personally, I'm not very good at following instructions or manual and get discouraged easy ... but I was able to follow this with ease. Any idiot should be able to do this, I'm living proof!! 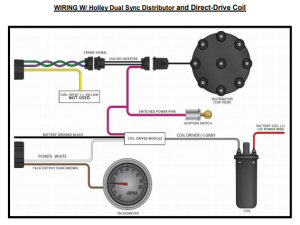 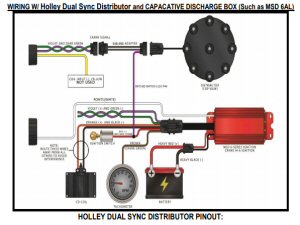 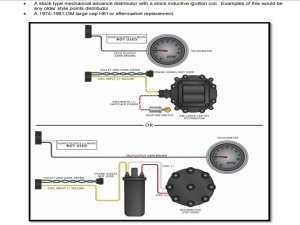 |
|
Personally, I'm not very good at following instructions or manuals and get discouraged easy ... but I was able to follow this with ease.
The following are my own words/my own opinion - Anybody should be able to do this, I'm living proof!! |
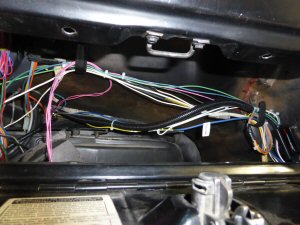
After wiring everything up, I tie wrapped all the EFI wiring seperate from the other factory wiring in the car and then tie them all the wiring together to make it look neat.
  |
|
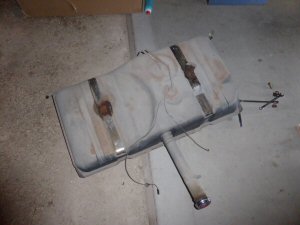
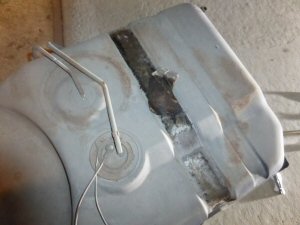
I ended up going out and buying a NEW Gas Tank and factory Sending Unit, because of the modifications needed. Would rather do the modifications to a NEW tank as oppose to the original 40 year old gas tank.
BIG THANKS to my buddy Denis for his welding services. Denis weld in the return bung at the top of the tank on the side. Welding it on top would pervent me from installing the tank as it would hit the trunk floor. This is the ONLY part of the Sniper install, the only time where we didn't follow the EXACT wording of the instructions and went with our own ideas, our own modifications. Instead of using Part #12-719, the 'Plastic Fuel Cuff', we used a steel brake line, bent it a nice 90 degress and pointed it downwards inside the tank so the returning fuel will drain back into the bottom of the tank. This 'Fuel Cuff' is important, because you want to return fuel to flow into the tank, instead of splashing down from the tank of the gas, which could cause the gas to foam up. This is VERY IMPORTANT !!! Due to the importance of the fuel flowing, this is why we went with a steel line instead of the plastic cuff, is as much as we could bend the cuff ... it's plastic, and I worried about it popping off the bung as I have no way of getting into the tank to fix this. 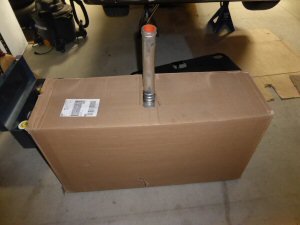 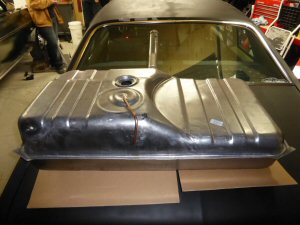 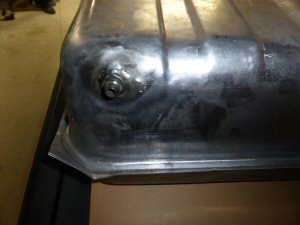 |
|
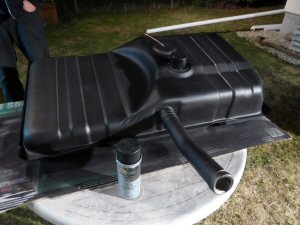
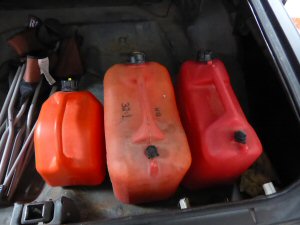
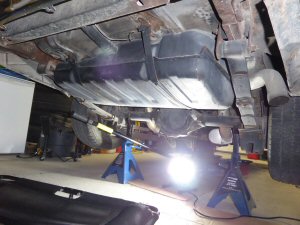
Time to paint the new tank, and while waiting for the paint to dry ... time to drain the old tank and remove from the car.
   |
While removing the factory gas tank, I came across the build sheet for my car. Sadly it was pretty much destroyed.
   |
|
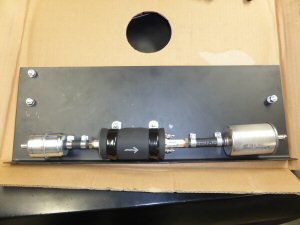
As shown in the 'Sniper EFI' Install video, I decided to follow suit and install my fuel filters and fuel pump in the same fashion as they did in their install.
Using a sheet of metal, to hold the pre-filter, fuel pump and fuel filter which I will then bolt to the Fuel Tank straps. I began to prep the metal for paint, and give it a quick light spray. 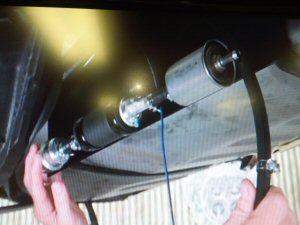 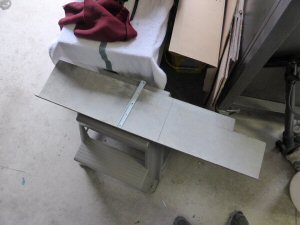  |
|
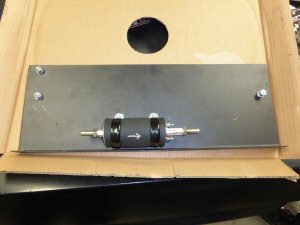
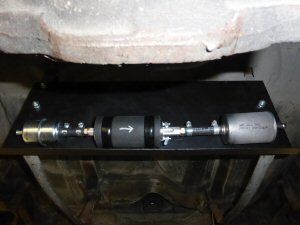
Plate is all painted, positioned and installed on the Gas Tank straps.
Few more coats on the tank and it'll be ready to install. 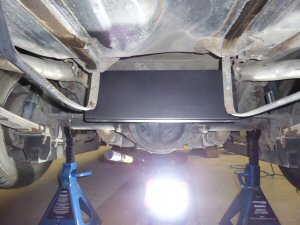 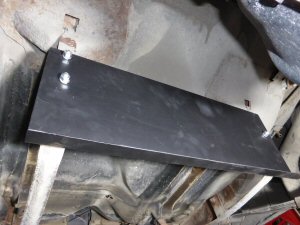  |
|
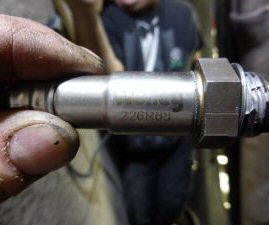
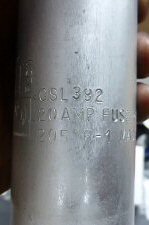
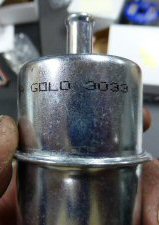
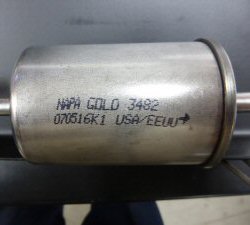
Before assembling the 'Fuel Plate' as I started to call it ... I took some pictures of various parts and filters for reference purposes.
O2 sensor - Holley 226R68 (Bosch)
    |
|
Checked out the 'Fuel Filter' Instructions, very important to install them in the correct order!
Took a moment to decide how I was going to layout my 'Fuel Plate', measure things out and center everything on the plate. Purchased some metal fuel line, as I'm not too excited about using the 'Pressurized Fuel Line' supplied with the kit. We need to run a new supply line to the Sniper from the 'Fuel Plate'. 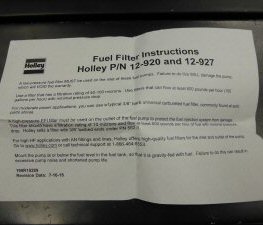 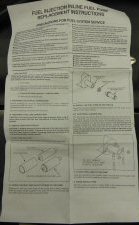 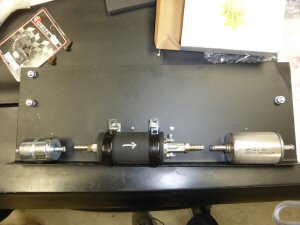 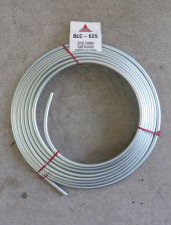 |
|
Snapped a couple pictures of my friends who are helping out. There's Kevin under the car, holding it up while he naps. Derek helping with the 'Fuel Plate' layout and Drew looking on.
A shoutout to the Holley guy, as we've been watching him over and over on that Holley Installation video. Might even of sworn at him a few times troughout the project. 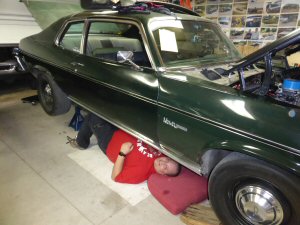 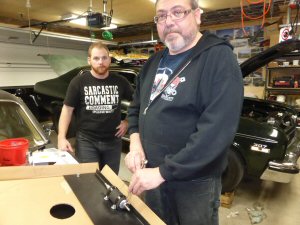 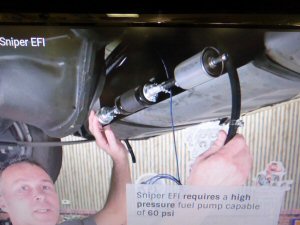 |
With everything measured out, time to assemble the 'Fuel Plate'. Pre-filter, Fuel Pump and Post-filter.
   |
|
After many wasted hours of trying to bend and run a metal fuel line, I gave up and used the supplied 'Pressurized Fuel Line' that came as part of the Master Kit.
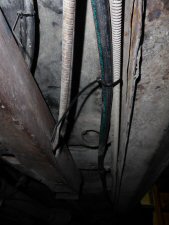
Starting at the 'Fuel Plate', and over to the frame rail on the drivers side of the car. Continued to run the line down and along the same path as the 'vapor line'. As per the instructions, the 'Vapor Line' is NOT to be used !!! It is too small, thus too restricting. 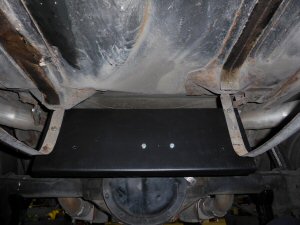 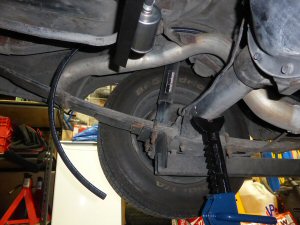 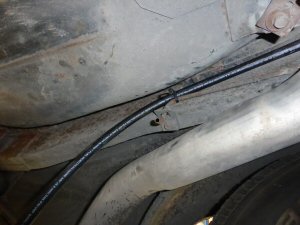 |
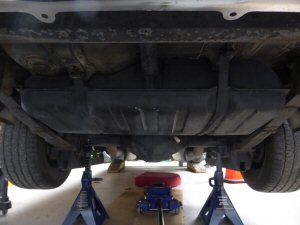
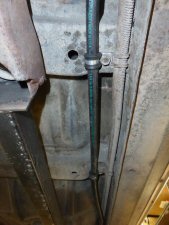
Continuing to run the 'Fuel Supply Line' along the frame rail, coming out alongside with the rear metal brake lines. The supply line is zip-tied and clamped down at the same points where the brakelines are clamped
    |
|
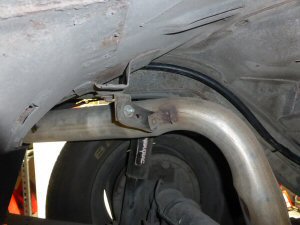
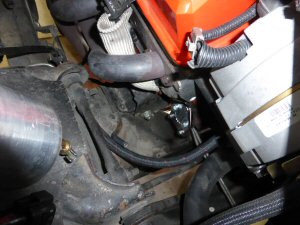
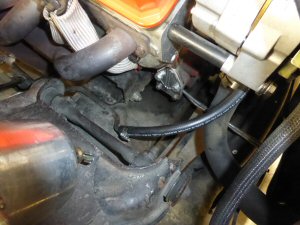
The 'Supply Line' runs up to just behind the drivers fender, which it is then fed upwards into the engine bay. We clamp it down at another point, where the brakeline is clamped to too.
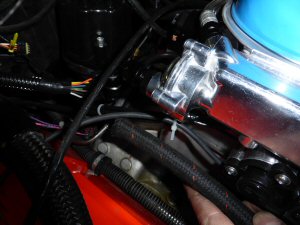
Once inside the engine bay, the line is clamped to the bracket of the proportioning valve. There we quickly tie wrap it next to the inlet on the Sniper unit. Wanting to double check how everything has been run before cutting and trimming it up. 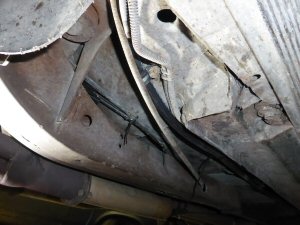 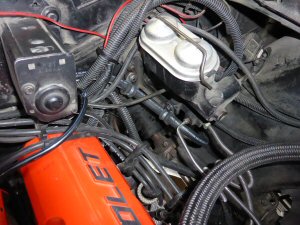 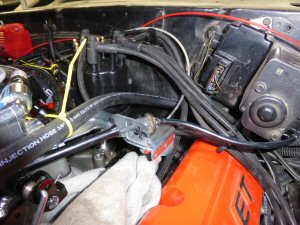 |
The plan is to use the original factory fuel line as the NEW fuel return line. With the extra fuel hose leftover from the supply side, we are able to cut and fashion up a return line connecting the Sniper to the stock factory fuel line.
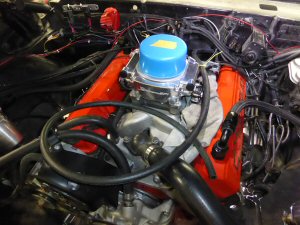   |
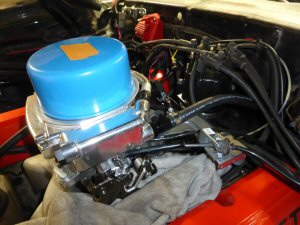
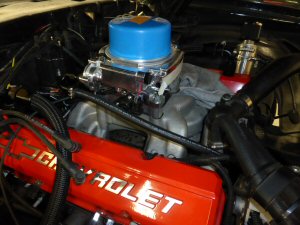
Installed Throttle Bracket and reconnect linkage. Fuel Supply line is connected, Return line is connected and connected to the 'Fuel Return' line.
   |
|
|
|
 Main 'Project MEANGREEN' Page Main 'Project MEANGREEN' Page |
|---|
| Back to Photo Gallery - 2017 |
|---|
| Main Page |
|---|